Time entries
Overview
The "Time entries" page can be used to evaluate time entries and to create working time or project reports. Another application is the correction of working times and project times across different employees.

When the worksheet is opened, only an empty filter mask is visible. This is used to filter the desired data.
Filtering time entries
Once a filter has been set, it can be saved as a private or public filter using the "Save" and "Save as" buttons. This allows data to be called up quickly and repeatedly. For example, a filter across different projects and staff members would be conceivable.

Filter options
TimePunch offers a variety of filter and search settings with which you can search through time entries.
Filter by time period
Time entries can be filtered according to their timestamp. You can either select a predefined time period, such as the last month or the current year, or enter the start and end date manually.
Filter by description text
Time entries can also be filtered according to their description text. The time entries are then searched according to the free text entered in the "Search" field. It is also possible to search for empty description texts. To do this, open the drop-down menu in the search field and select "Entries without description".
Filter by employee, customer, project and activity
All time entries can also be filtered according to the assigned employee, customer, project and task. In addition to the search field for the description text, there are various search boxes for employees, customers, projects and tasks. Next to each of these is a button with three dots. If this is clicked, a dialogue opens in which the specific criteria can be selected and used as a search filter.
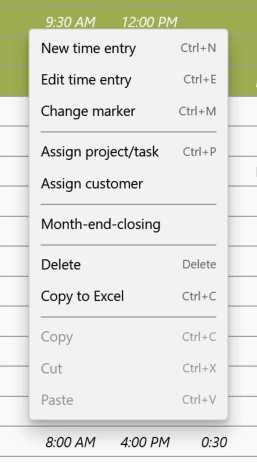
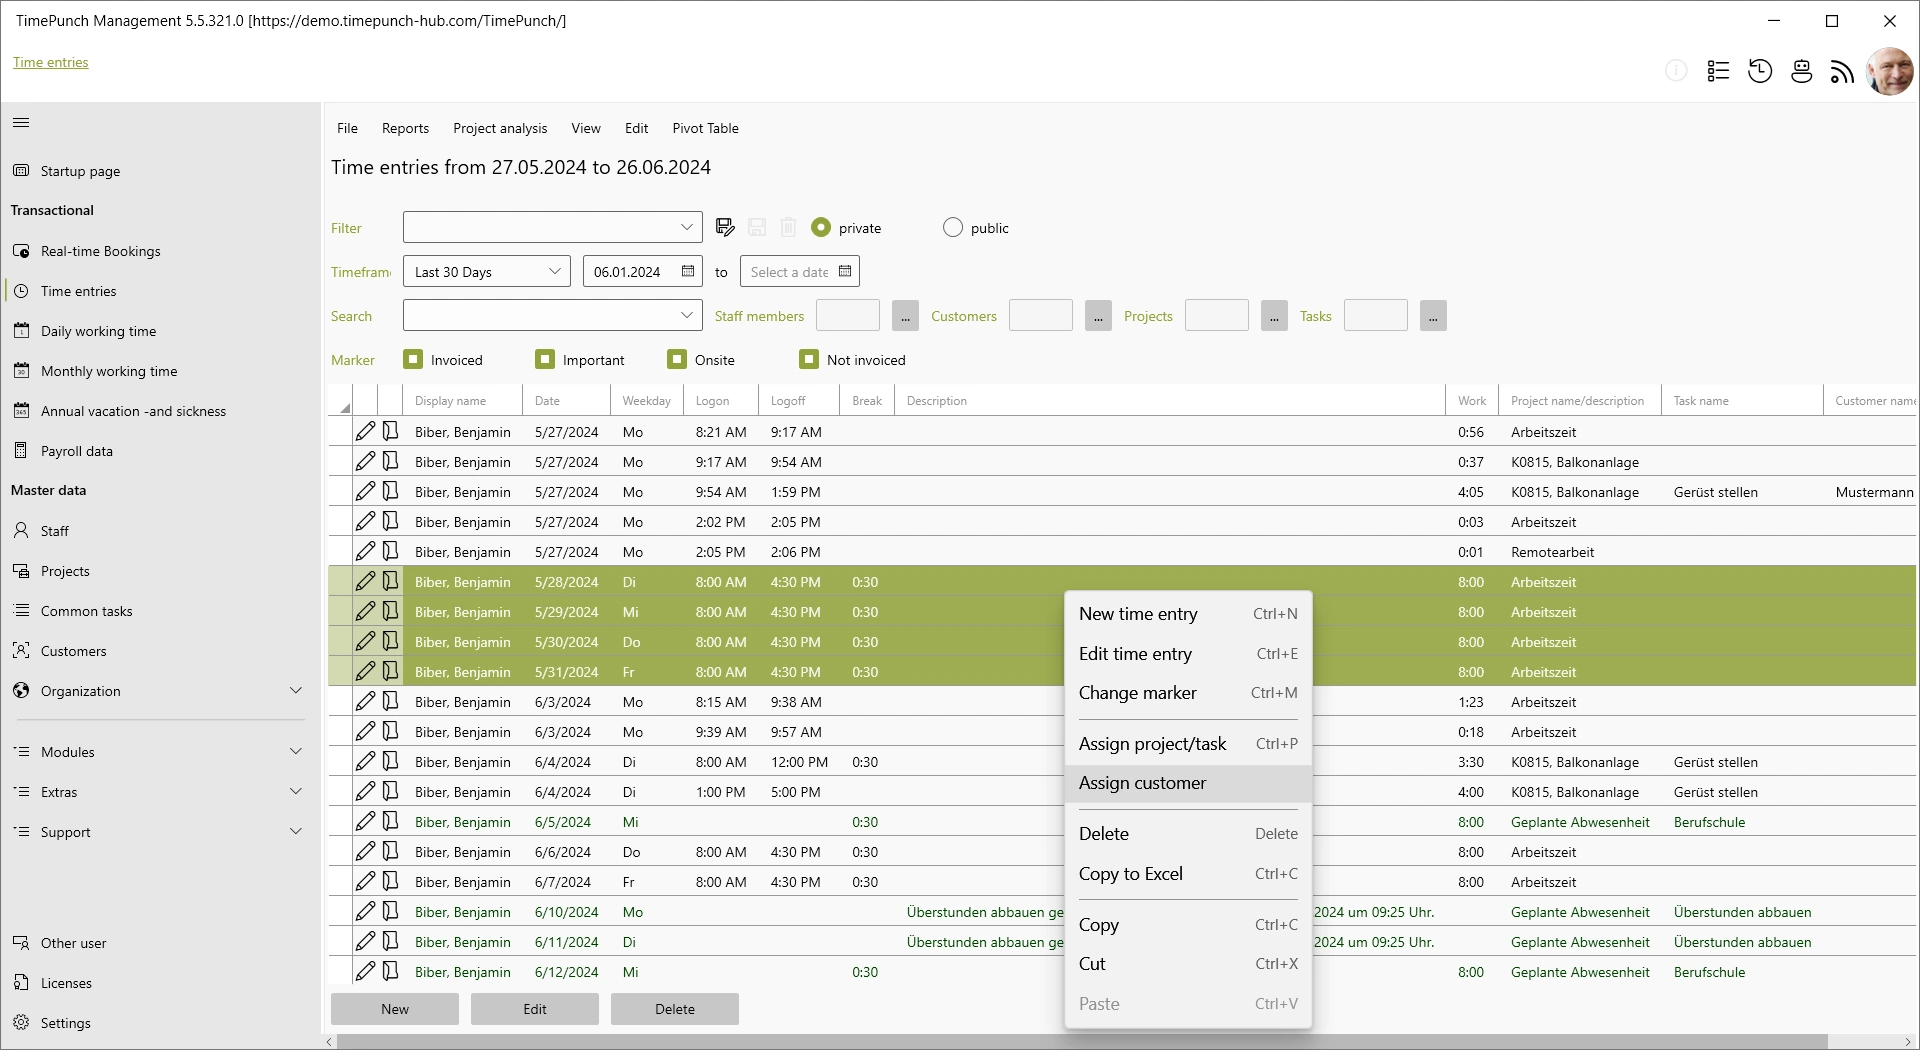
Context menu
The context menu can be opened by right-clicking. To do this, first select the time entries to be edited. Then right-click on the selection. This opens the following context menu.
Create and edit time entries
On the time entries page, time entries can be subsequently edited and newly created.
This can be done either by double-clicking (by keyboard with a return) on the entry or alternatively by using the "New" or "Edit" button.
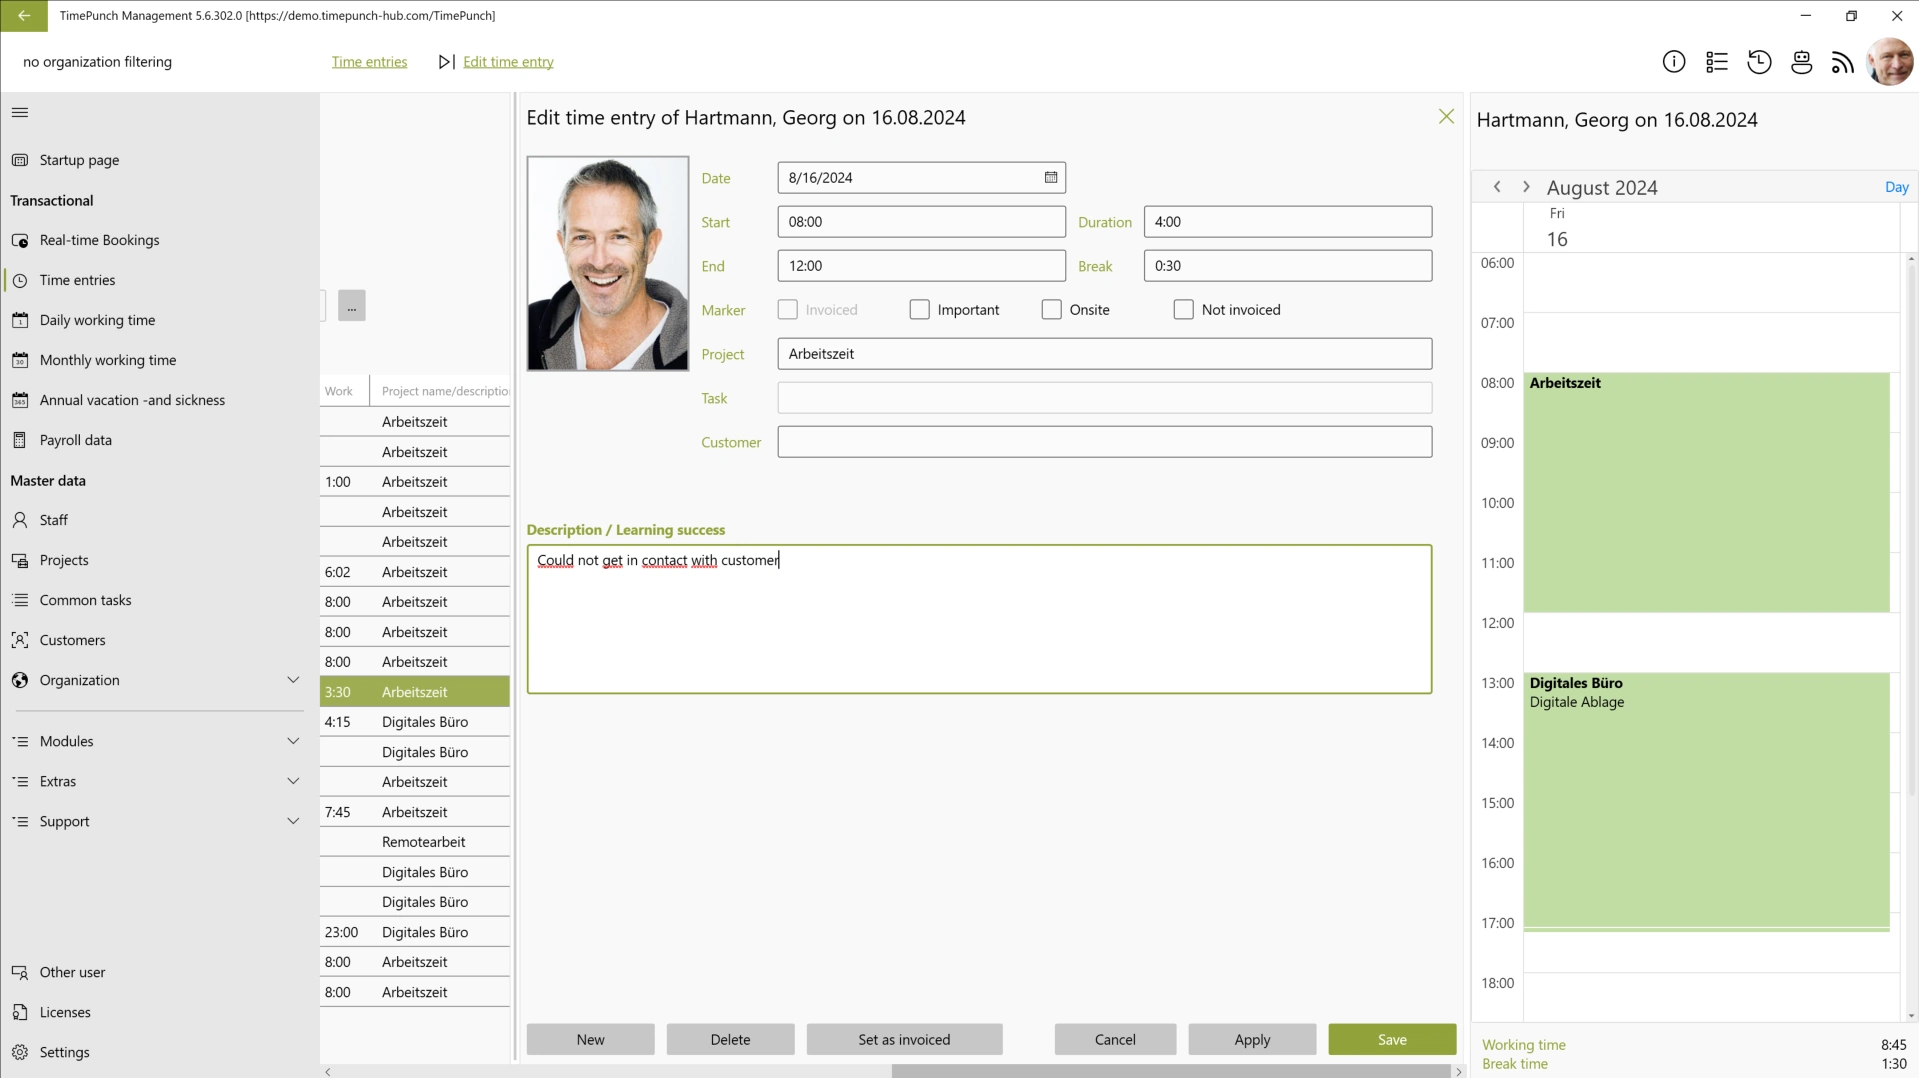
Tip : You can edit several time entries quickly and elegantly if the time entries are saved with "Apply". Then the The edit dialogue then remains open and a new line can be selected directly in the individual entries. This saves closing and opening the dialogue.
Change marker
Time entries can be marked. The selection helps to filter the entries better. For example, the “On-site” mark indicates that the time entry was made on-site at the customer's premises, and not at the company. The “Invoiced” mark can be used to identify time entries that have already been invoiced to the customer. This way, you can use a filter to display only the time entries that have not yet been invoiced. This makes it very easy to print all time entries in a project report that have not yet been invoiced.
The various markers at a glance:
- Invoiced: The times have already been invoiced
- Important: The time entry is important and is indicated separately in the project status
- On-site: The working time was booked directly at the customer's site
- Not invoiced: The time entry will not be invoiced to the customer
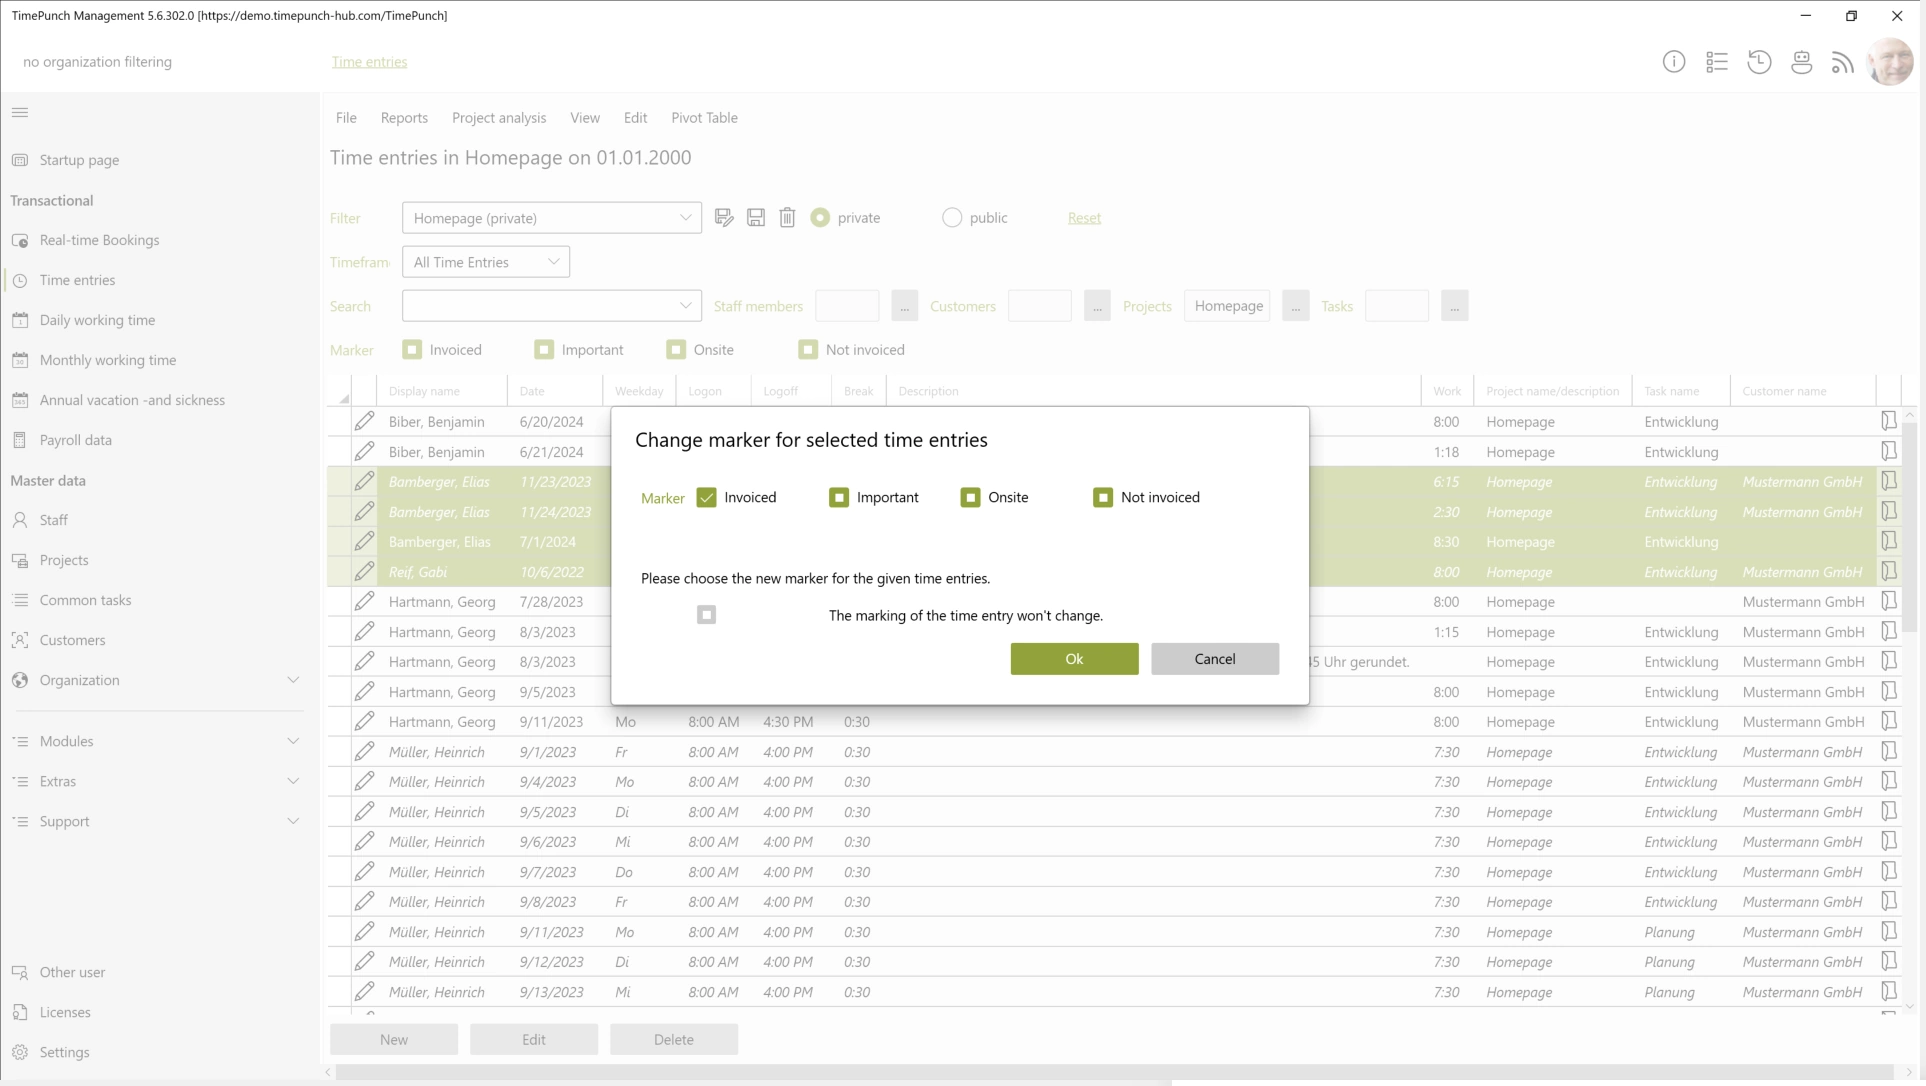
After marking the time entries, the “Change selection” command can be selected from the context menu. A dialog box will open in which the selection of time entries can be redefined. A filled rectangle means that you are not changing the existing selection. A check mark sets the selection and an empty rectangle deletes the selection.
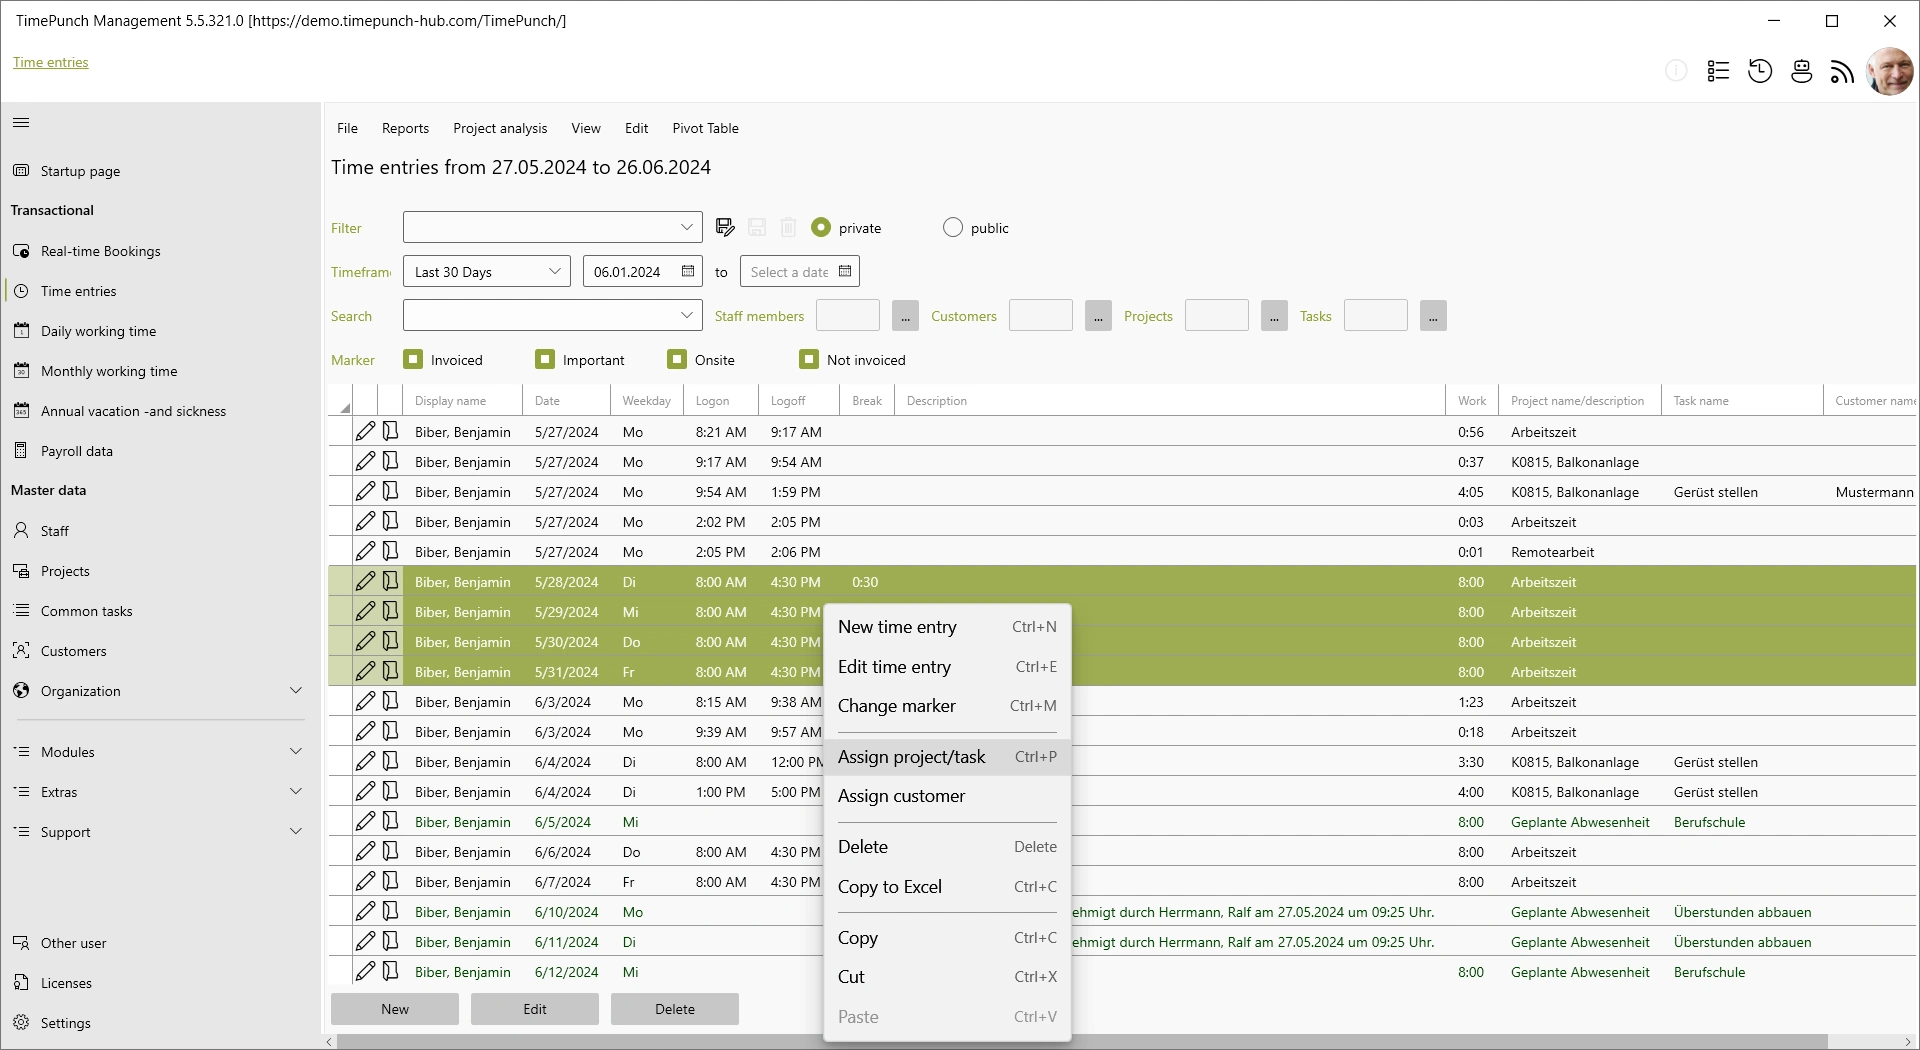
Assigning a project and task
If you want to change the project and task for one or more time entries, you can use the "Assign project/task" function. To do this, select the individual entries and then right-click to select "Assign project/task" from the context menu.
A dialogue for selecting the new project and task opens.
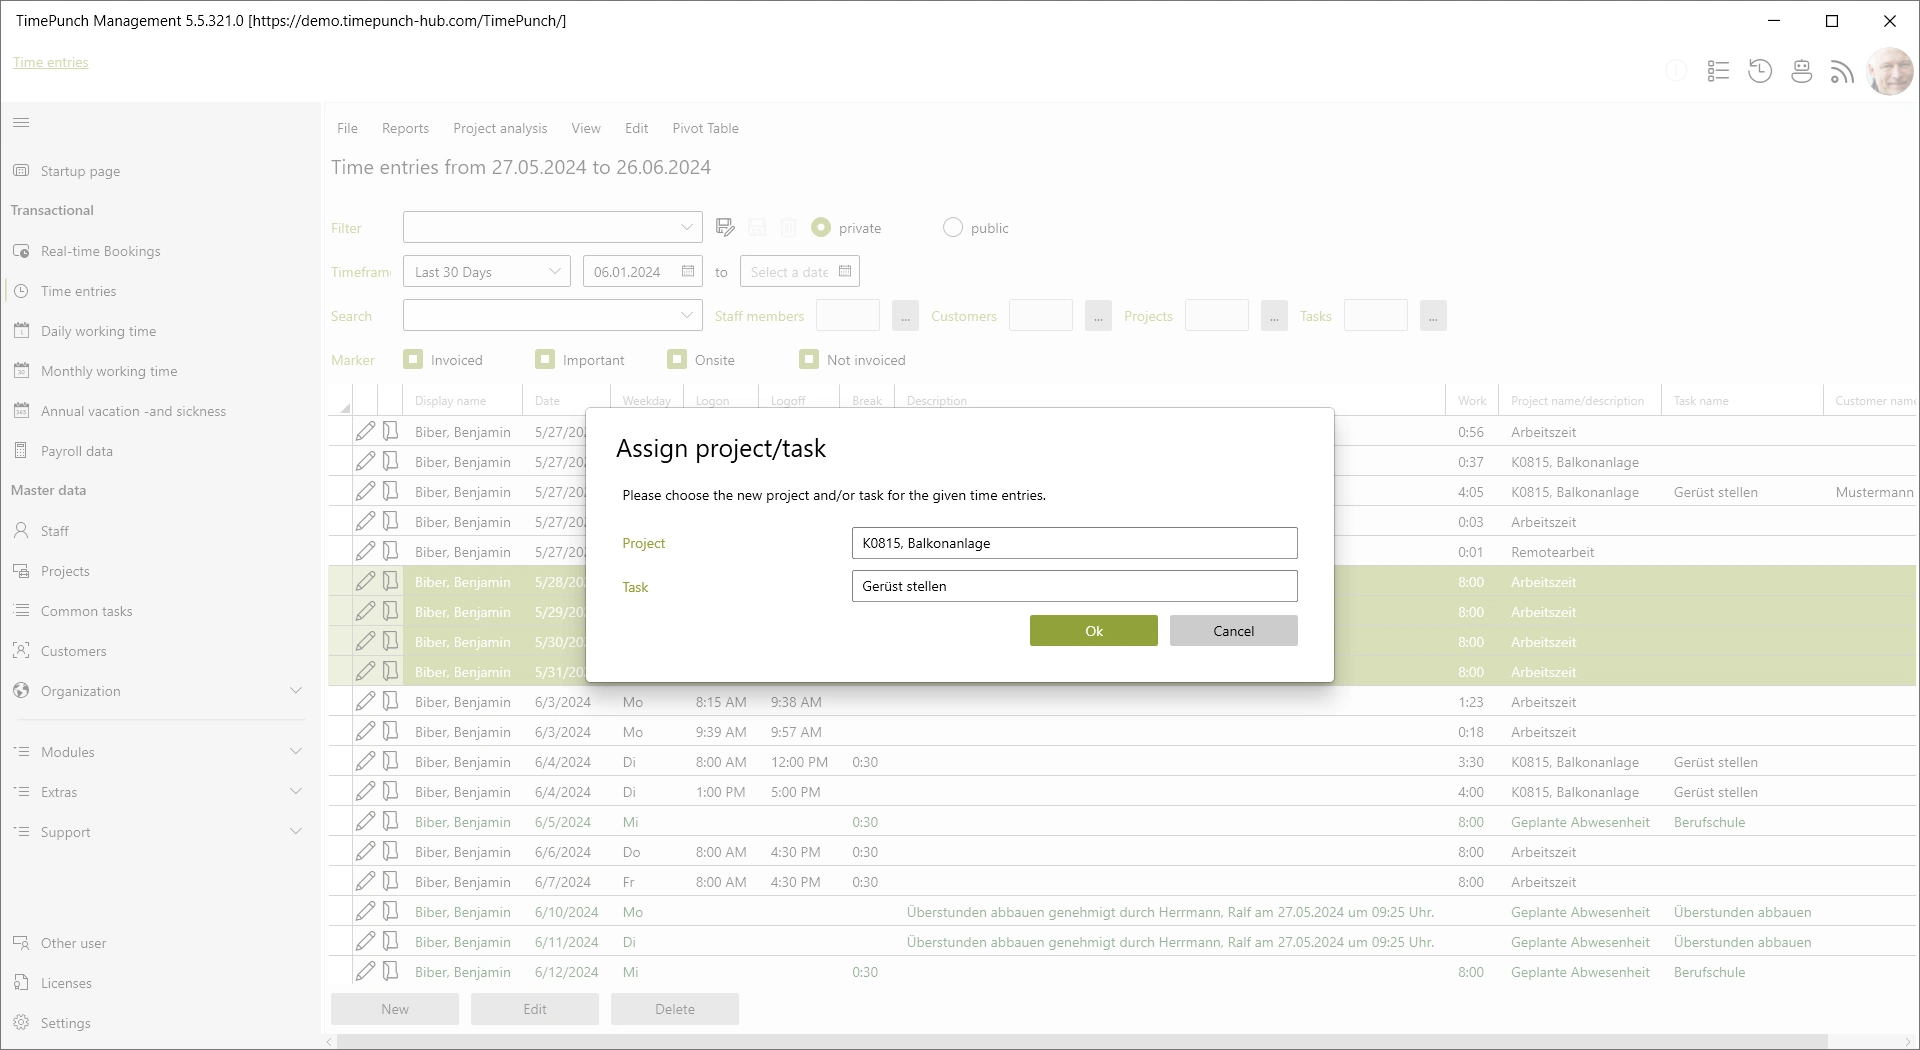
By confirming the dialogue with "Ok", the selected time entries are saved with the new project and task.
Assigning a customer
If the assignment to the customer is to be changed for one or more time entries, the "Assign customer" function can be used for this. To do this, select the individual entries and then right-click to select "Assign customer" from the context menu.
A dialogue for selecting the new customer opens.
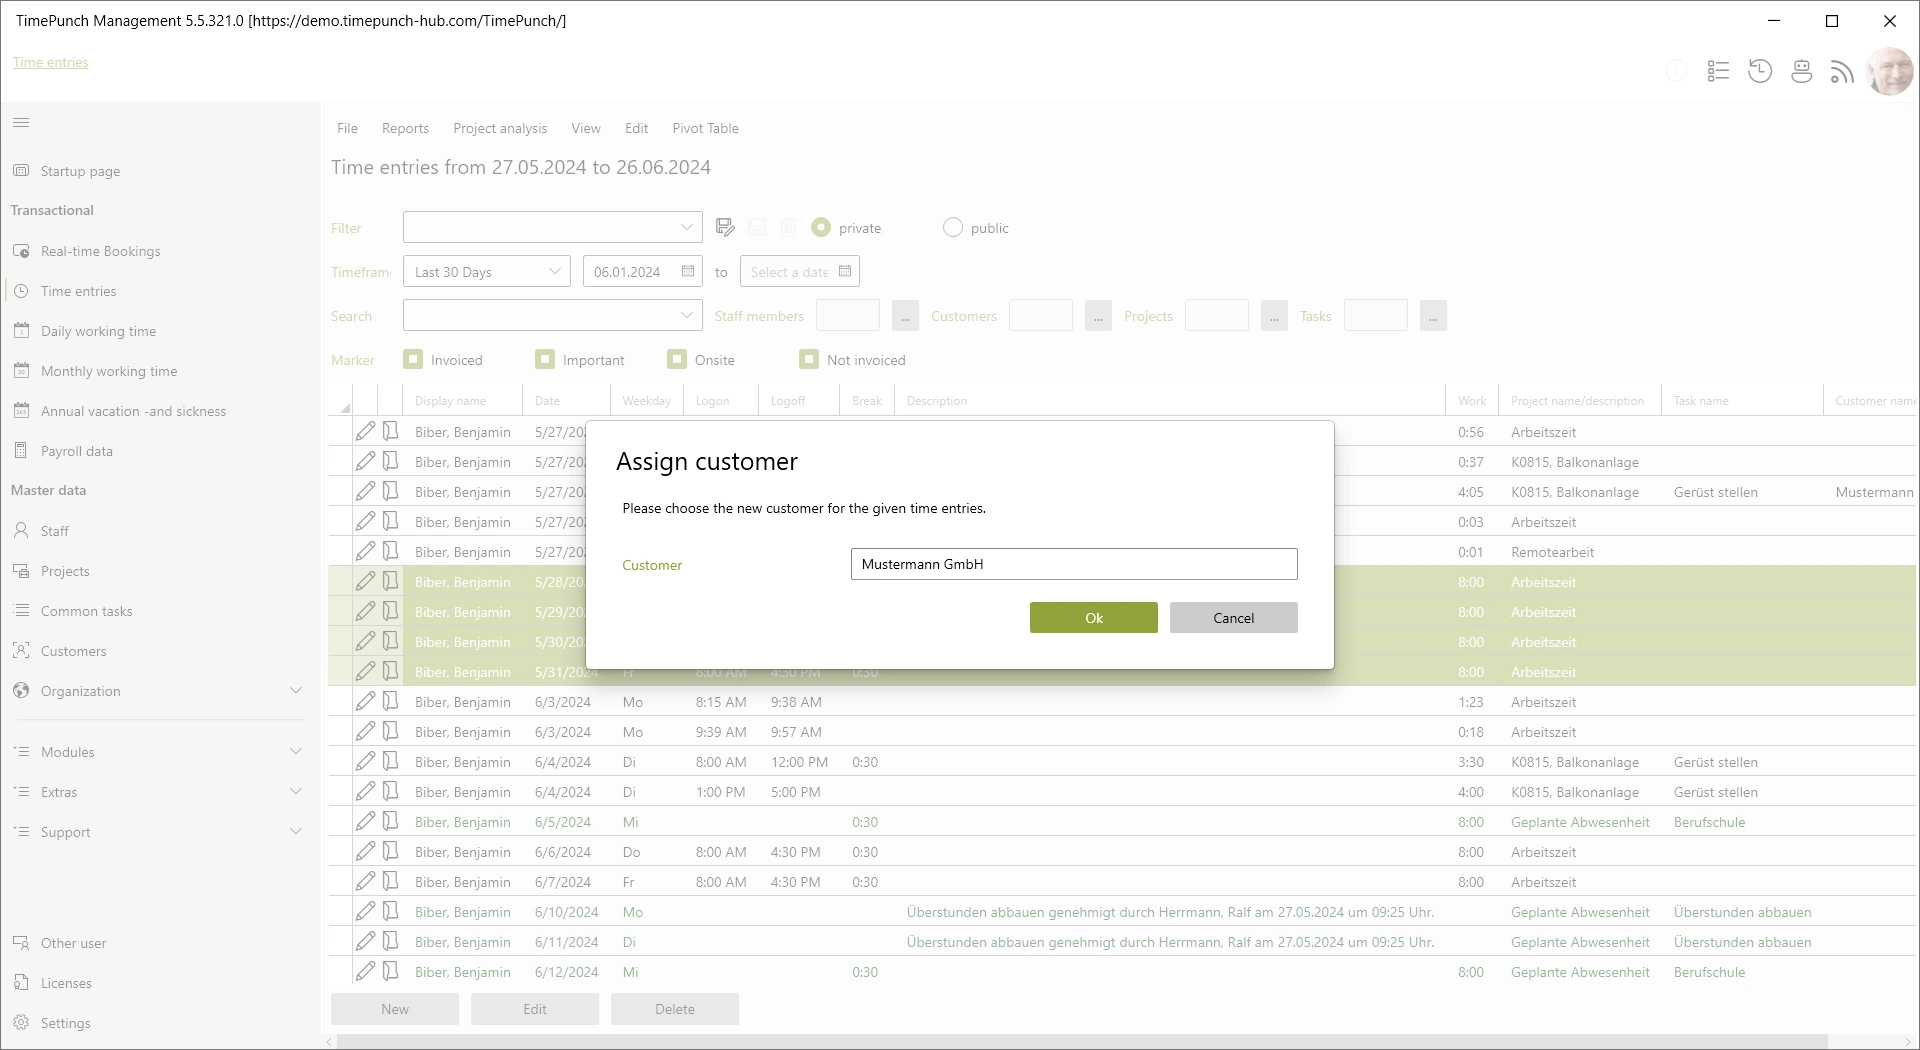
By confirming the dialogue with "Ok", the selected time entries are saved with the newly assigned customer.
Monthly closing
A monthly closing blocks the time entries from being edited until the closing. The monthly closing is explained in detail in the section Master data / Employees.
Opening reports
The set filter can serve as a basis for further evaluations. It is possible, for example, to create project statements or timesheets from the filtered data. from the filtered data.

Individual reports and evaluations
If you have your own report templates or wishes, we are happy to offer our support. We create customised reports and reports and evaluations according to your templates. In this case, please send us an email to: support@timepunch-info.de